
KNOWLEDGE CENTER
How do you plan ADA ramp access for temporary event stages?

ADA ramp planning for temporary stages should consider stage height, available footprint, slope, landings, handrails, venue access paths, guest flow, and local event requirements. Smartstage provides modular ADA ramp and stair solutions that help event teams create safer, more accessible temporary event environments. Of course, there are specific event, venue, and compliance considerations, so here are some best practices to keep in mind...
PLANNING CHECKLIST

Planning accessible stage access begins with understanding the complete event environment, not simply selecting an off-the-shelf ramp solution. Stage height, available floor space, the accessible route, audience and participant flow, stairs, landings, handrails, and venue requirements should all be considered before determining the final configuration. Smartstage's modular ADA systems can be configured around these variables, helping event teams incorporate accessible stage entry into the overall event layout from the beginning. This early planning can also reduce potential conflicts with other structural and aesthetic production elements as well as key venue requirements.
RAMP FOOTPRINT
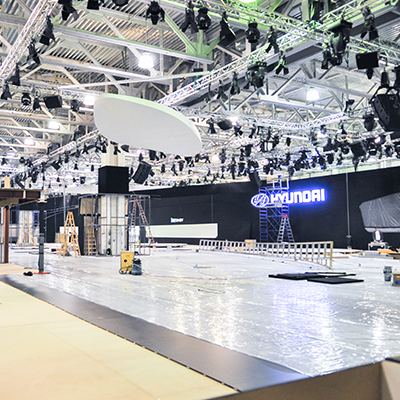
An ADA ramp can require significantly more space than teams initially expect, particularly as stage height increases. The available footprint should account for the ramp run, required landings, turns, handrails, approach areas, and connections to accessible paths throughout the venue. Planning this footprint alongside the stage helps avoid conflicts with seating, aisles, exhibits, production equipment, and audience circulation while creating a more integrated event environment design and layout. It's important to understanding the available space early, which gives production teams more flexibility when determining the final stage location and configuration.
STAGE HEIGHT
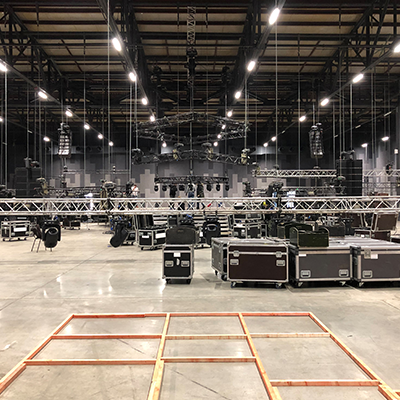
Stage height directly affects the amount of space required to provide accessible entry to a temporary stage. As platform elevation changes, the ramp configuration and overall footprint may also need to change to accommodate appropriate slopes, landings, transitions, and access points. Evaluating stage height and accessibility together, before setup begins, allows production teams to select a staging configuration that balances audience sightlines, presentation requirements, available space, and accessible access. Considering both together from early on in the design process can help prevent unnecessary layout redesigns later in the planning process.
COMMON MISTAKES
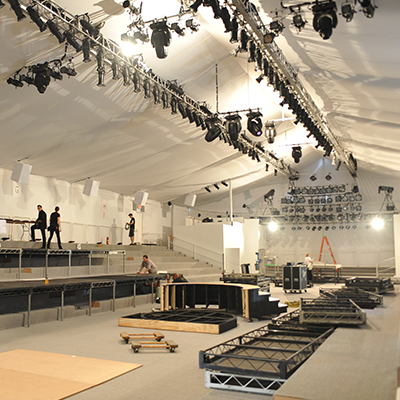
One of the most common planning mistakes is treating accessible stage access as something that can simply be added after the primary stage layout is complete. Limited floor space, obstructed paths, insufficient landing areas, venue restrictions, and competing production requirements can make late-stage design changes difficult. Incorporating ramp access during initial stage planning gives event teams more flexibility to create an efficient layout while reducing last-minute changes during installation. It also allows accessibility requirements to become an integrated part of the overall event design rather than an afterthought.
VENUE QUESTIONS

Before selecting an ADA ramp configuration, event teams should understand the venue's available space, accessible routes, entrances, loading access, floor conditions, restrictions, and any applicable local requirements. Ask where the accessible route should begin, what areas must remain unobstructed, and whether the venue has specific requirements for temporary stages. Getting these answers early helps Smartstage configure equipment around the actual environment rather than making adjustments during setup. Sharing available venue drawings, floor plans, and production requirements can also help identify potential access issues before equipment arrives.
GOOD STUFF? SHARE IT!
Yeah, we thought this was pretty cool too. Why not share it?